To patch ceilings well, start by finding out why the damage happened. A small nail hole, cracked joint, or water-stained area may require very different repairs, and covering the surface without addressing moisture or movement can lead to another failure. Having the right ceiling tools, including a utility knife, sanding block, and broad knife, also helps ensure a clean, lasting result.
This guide will help you inspect the problem, choose the right repair, and recognize when a larger issue calls for a qualified professional.
Repair ceiling damage only after identifying and fixing its cause, especially leaks, loose drywall, or structural movement. Small, dry, stable dents and holes can often be patched with proper backing, thin coats of joint compound, sanding, primer, and paint. Replace softened water-damaged drywall rather than covering it. Call a professional for sagging, recurring cracks, electrical-adjacent damage, broad water stains, or difficult texture matching.
Before you patch ceilings, find out why the damage appeared. As a drywall contractor, I see too many homeowners complete a clean-looking ceiling drywall repair only to have the same stain, crack, or soft spot return a few weeks later. Water marks may point to a roof, plumbing, or HVAC leak; recurring cracks can indicate framing movement or loose drywall; and a hole may simply need a solid backing before it can be filled.
Shut off and repair any active leak, let the area dry completely, and remove damp or crumbling material. Then check that the surrounding ceiling drywall is firm and securely fastened. Gather the right ceiling tools and drywall tools before starting, including a utility knife, sanding block, screw gun, and a straightedge. Clean, well-maintained taping tools help create an even finish when applying drywall tape and joint compound. Once the cause is handled, drywall repair becomes a straightforward process of cutting back to sound material, installing support, taping, coating, sanding, and repainting. If the damage is extensive, textured, or near electrical fixtures, MrWalls Drywall & Painting can assess it and deliver a seamless repair.
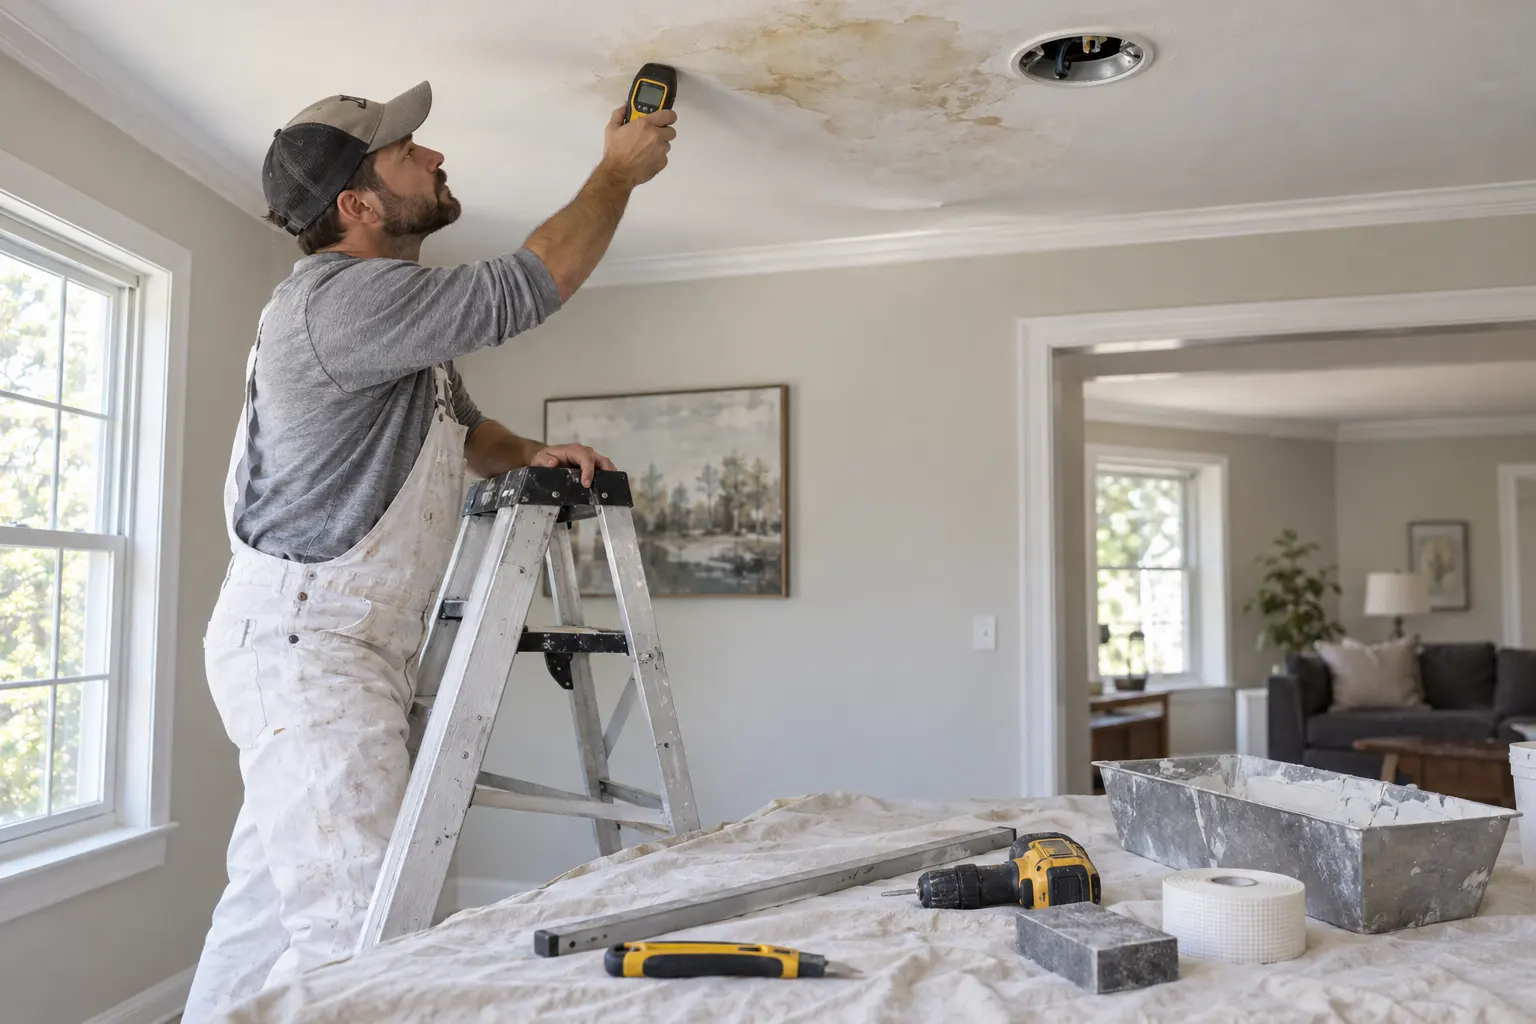
| What you see | Possible cause to check | What to do before patching |
|---|---|---|
| Water marks | Roof, plumbing, or HVAC leak | Shut off and repair any active leak, then let the area dry completely. |
| Recurring cracks | Framing movement or loose drywall | Check that the surrounding ceiling drywall is firm and securely fastened. |
| Soft spots | Moisture damage from an active or previous leak | Repair the cause of moisture, dry the area completely, and remove damp or crumbling material. |
| Hole | Missing support behind the damaged area | Cut back to sound material and install solid backing before filling the hole. |
Before repairing drywall overhead, I take a close look at the entire area, not just the visible damage. A sound drywall patch starts with knowing whether the ceiling is dry, stable and safe to work on, and having the right drywall tools ready for the job.
Start by checking for active moisture: brown rings, soft paper, bubbling paint, a mold odor, or a stain that continues to grow. If the ceiling is wet, find and stop the leak before opening anything. I also recommend switching off power to the affected room if damage is near a light fixture, ceiling fan, or recessed lighting. Use basic ceiling tools carefully, an awl or screwdriver can help test whether the board has become soft, but never probe around wiring. Watch for sagging, widespread cracks, loose fasteners, or a bowed ceiling line. Those signs may point to framing or roof issues that need attention before a cosmetic patch.
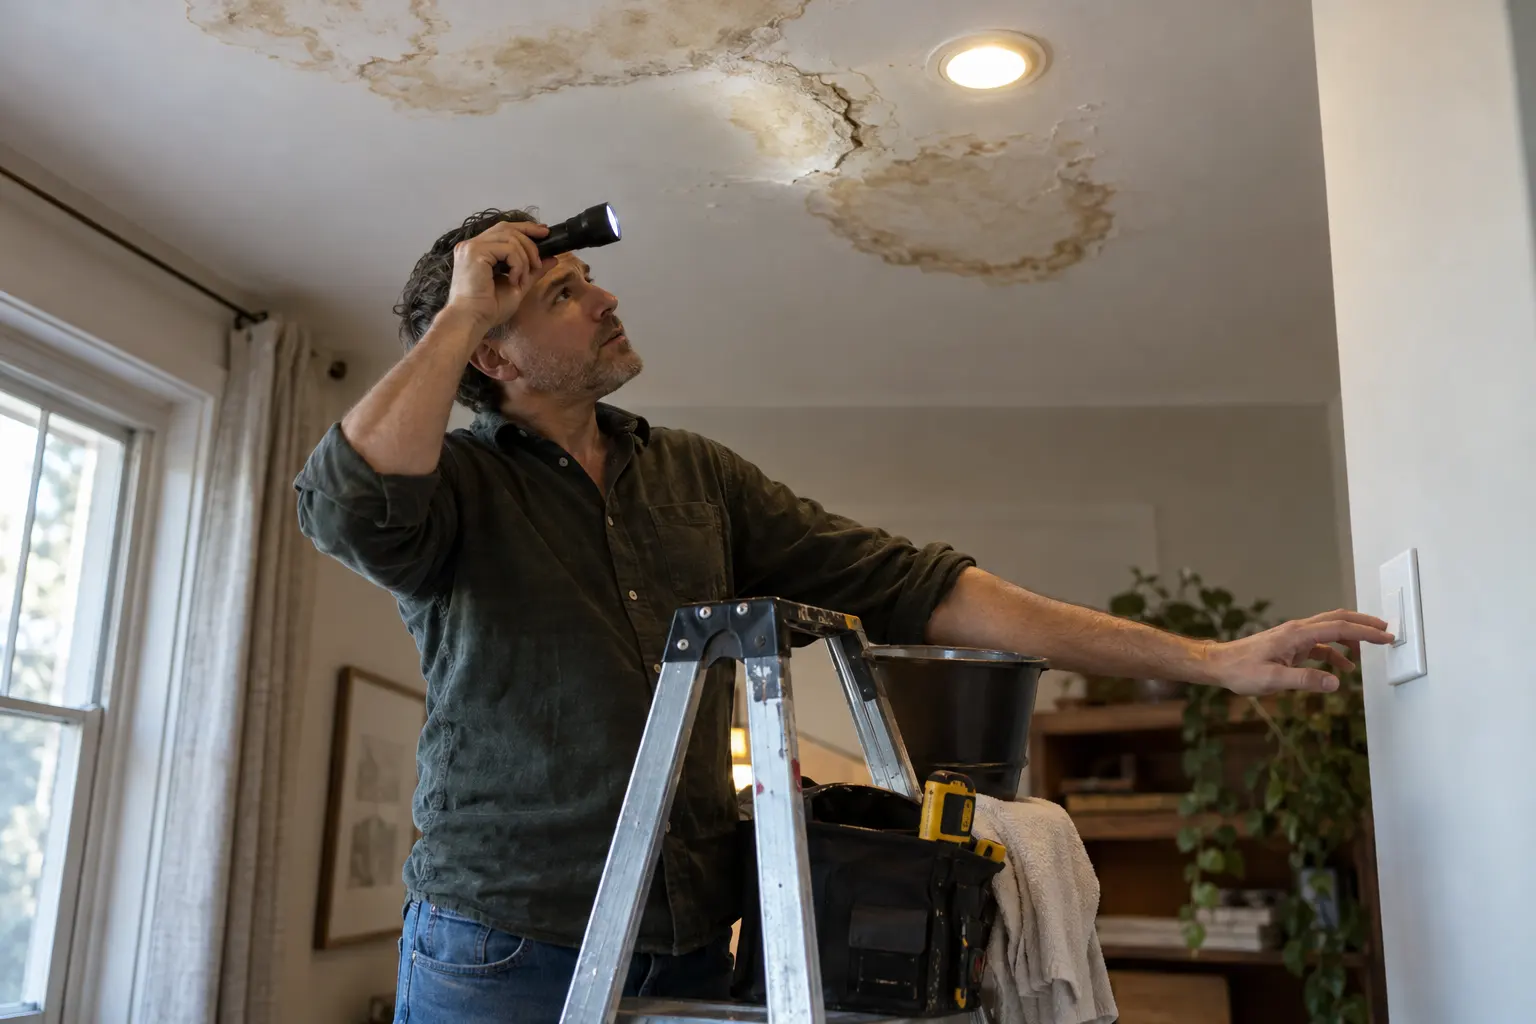
Water-damaged ceiling drywall is rarely a simple matter of covering a stain. Once gypsum has softened, swelled or begun to crumble, the affected section should usually be removed and replaced rather than skimmed over. After the source of water is repaired, let the cavity dry thoroughly and inspect the framing for staining, decay, or mold. Then cut back to firm, undamaged material and install a supported drywall patch using board of the correct thickness. While a drywall patch kit may suit a small, dry repair, patch ceilings affected by water require careful assessment before repairing drywall. A proper drywall repair includes drywall tape, joint compound, drywall taping, sanding and priming with a stain-blocking primer before paint. Reliable taping tools and other drywall tools help create clean seams; purpose-made ceiling tools also make it easier to support and finish overhead work. Knowing how to tape drywall correctly is essential, but if the damage is broad or the cause is unclear, MrWalls Drywall & Painting can assess it safely.
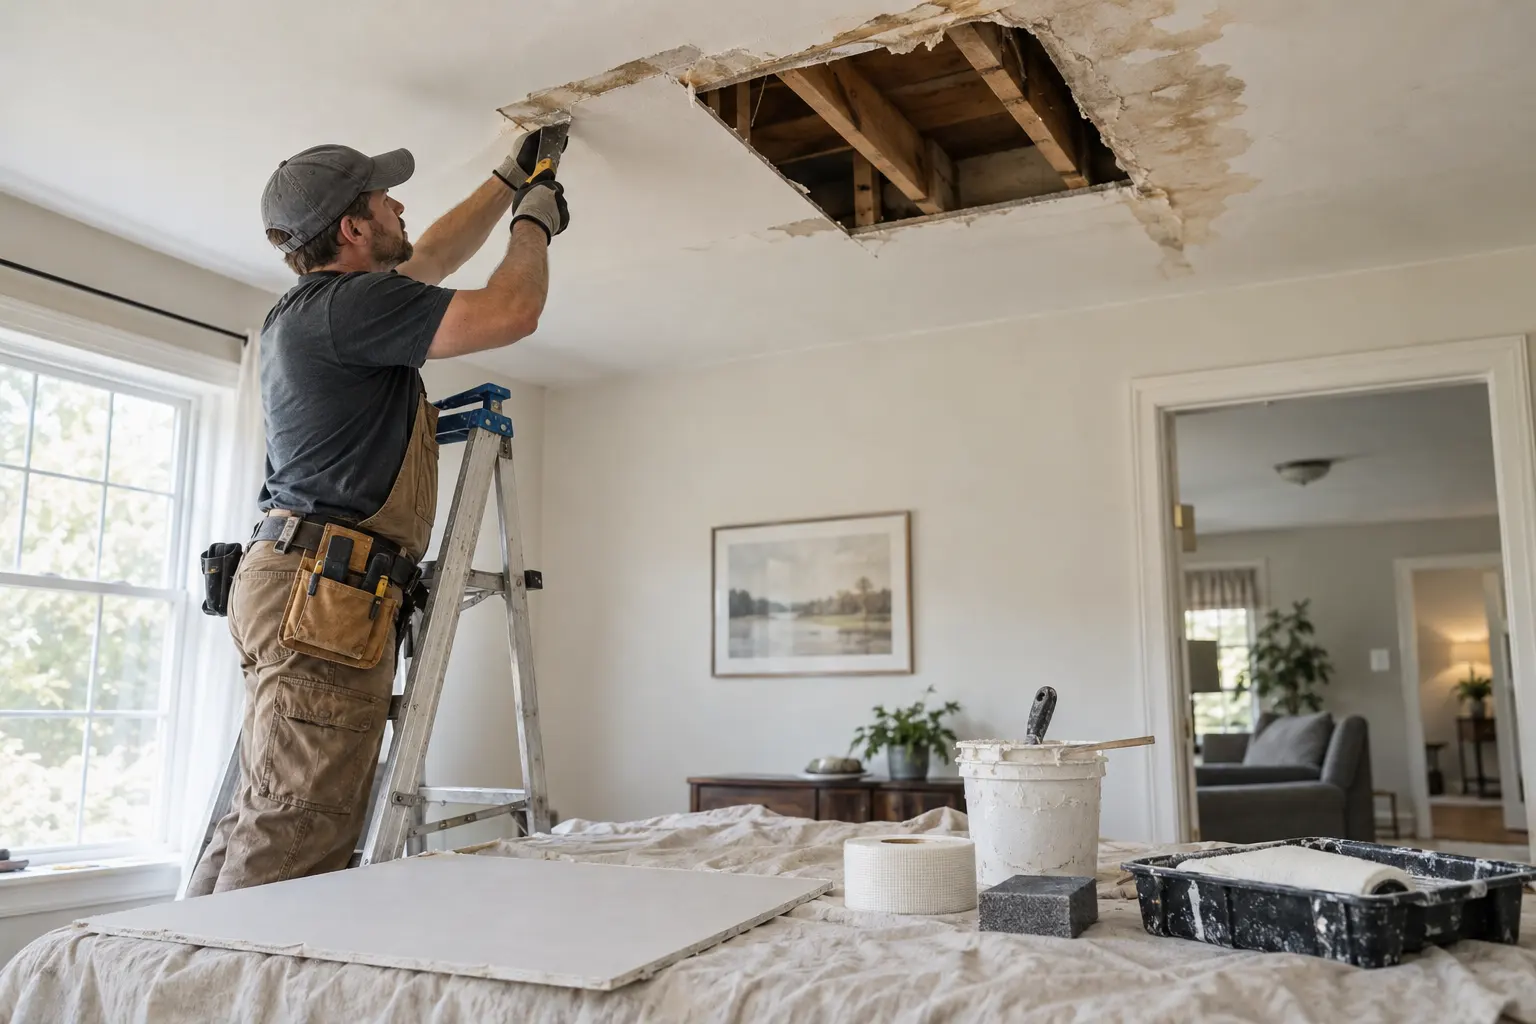
A small ceiling blemish may need only a drywall patch and careful feathering with joint compound. Larger damage, recurring cracks, or wet material call for a wider repair plan. At MrWalls Drywall & Painting, we help homeowners match the scope to the cause, not just the visible hole.
A DIY repair is reasonable when the damage is small, dry, stable, and away from a ceiling seam or light fixture. A nail pop, minor dent, or hole smaller than a few inches can often be handled with a drywall patch kit. Cut away loose paper, support the patch as directed, and apply several thin coats rather than one heavy coat. Sand lightly between coats and prime before painting. For patch ceilings with a textured finish, practice the texture on scrap material first; matching it is usually the hardest part. Stop if you find staining, softness, or a crack that keeps reopening.
Call a drywall contractor when the ceiling has water damage, sagging, widespread cracking, visible seams, or a hole that requires new backing and replacement board. Those issues can point to roof, plumbing, ventilation, or structural concerns that should be addressed before repairing drywall. I also recommend professional help for textured ceilings, especially when an exact finish match matters or the repair requires skill to tape drywall cleanly. At MrWalls Drywall & Painting, we remove compromised material, secure the surrounding ceiling, tape and finish repairs properly, then prepare the area for a seamless paint match. A professional drywall repair is especially worthwhile when the ceiling is highly visible or the repair must last.
Before I patch a ceiling, I set out the right tools and materials so the repair stays controlled, clean, and flat. Most small drywall repairs need a utility knife, tape measure, pencil, straightedge, sanding sponge, drill, screws, and a drywall saw. For a larger opening, add backing lumber or drywall repair clips, plus a replacement piece of drywall that matches the existing ceiling thickness.
Your finishing supplies matter just as much. Keep drywall tape and joint compound on hand, along with a 4- or 6-inch taping knife and a wider 10- or 12-inch knife for feathering. These taping tools help blend the patch beyond the repair instead of leaving a raised outline. I usually recommend paper tape for flat ceiling seams because it creates a strong, crisp bond when embedded properly; use it to tape drywall joints before applying thin, even coats of compound. If you would rather avoid overhead dust, or want a seamless result around a textured ceiling, MrWalls Drywall & Painting can handle the ceiling repair from patching through paint-ready finishing.
Small ceiling blemishes are often manageable for a careful homeowner, especially when the drywall itself is still firm and dry. I recommend starting with a quality drywall patch kit for nail holes, small dents, or shallow damage; it usually includes a drywall patch, sanding material, and the basics needed for a clean repair. For hairline cracks, gently widen the line with a utility knife so fresh joint compound has a solid surface to grip. Apply thin coats rather than one heavy layer, letting each coat dry before sanding lightly and feathering the edges into the surrounding ceiling. Use a work light held at an angle to reveal ridges before priming and painting. If a crack keeps returning, the ceiling sags, or there are water stains, the issue may be more than cosmetic. At MrWalls Drywall & Painting, I can assess the cause and make the repair blend naturally with your existing ceiling.
For a larger ceiling patch, the replacement drywall needs more than a few screws at its edges. I first square the opening to solid material, then install wood blocking or framing behind the existing ceiling board so every side of the new piece has firm support. This prevents flexing, a common reason a repaired seam later cracks. The patch should sit flush with the surrounding ceiling, with screws set just below the paper face without breaking it. Once the board is secure, drywall taping becomes the finish-critical step. I embed drywall tape in joint compound, cover the fasteners, and build out several increasingly wide coats so the repair disappears into the ceiling plane. Homeowners can tape drywall successfully with patience and proper support, but overhead work is unforgiving. If the opening is large, sagging, water-damaged, or near electrical wiring, MrWalls Drywall & Painting can handle the framing, drywall repair, and smooth final finish.
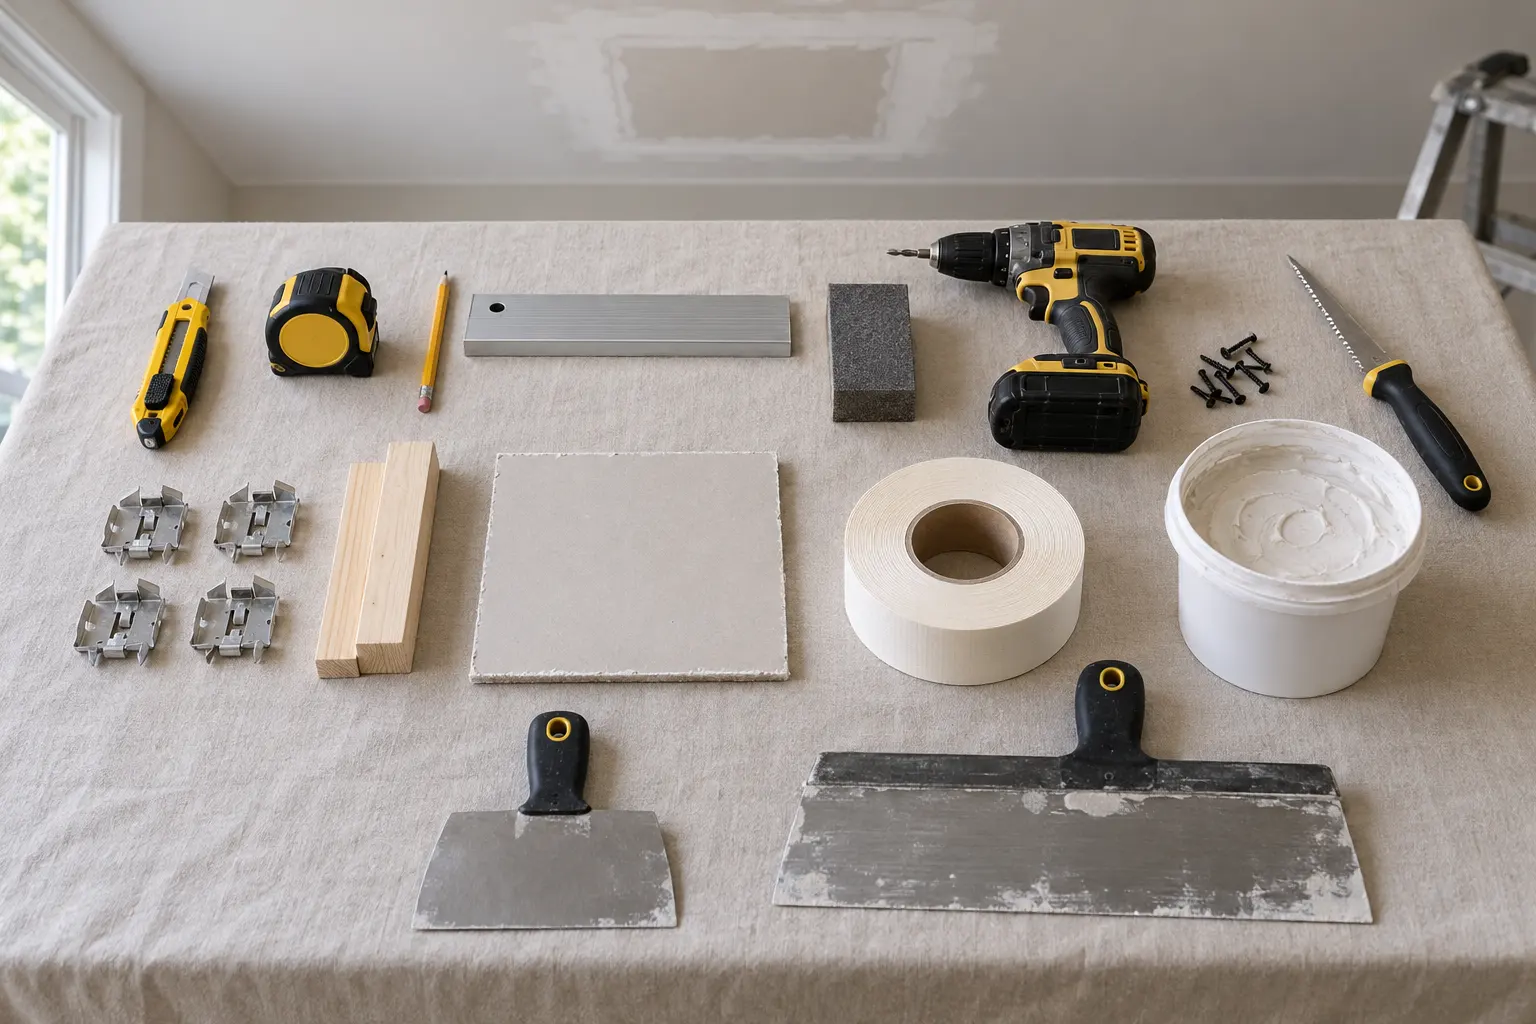
A clean ceiling repair depends less on the patch itself than on how well it disappears into the surrounding surface. As a drywall contractor, I tell homeowners to slow down at this stage: feather the joint compound well beyond the repair, using thin coats rather than one heavy application. Let each coat dry fully, then sand lightly with a fine-grit sanding sponge and check the area with light coming across the ceiling. That side lighting reveals ridges, edges, and shallow spots you may otherwise miss. Drywall taping also matters; tape that is not fully embedded or properly covered can telegraph through paint later. Before priming, wipe away all sanding dust and run your hand across the repair; it should feel flat, not merely look flat. If matching an older ceiling texture or working overhead feels like more than a weekend task, MrWalls Drywall & Painting can provide a seamless professional finish.
Textured and older ceilings can make an otherwise simple patch more challenging. As a drywall contractor, I advise homeowners to slow down before cutting into ceiling drywall: the texture, paint layers, framing layout, and age of the materials all affect how cleanly the repair will blend. A smooth, modern ceiling is forgiving; a stippled, popcorn, or hand-troweled finish is not. Before sanding or scraping, especially in homes built before the mid-1980s, have suspect texture tested for asbestos rather than disturbing it. For newer textured surfaces, protect the surrounding area, make the structural repair first, then recreate the finish only after the compound has dried and been feathered wide. Matching an existing pattern often takes sample work and the right tools, from a texture brush to a hopper gun. If the ceiling has recurring cracks, water staining, sagging, or an extensive texture match, MrWalls Drywall & Painting can handle the repair and leave the patch looking intentional rather than newly repaired.
A small, stable hairline crack may only need tape and joint compound. Investigate recurring, widening, or widespread cracks first, as they can indicate loose drywall, framing movement, roof issues, or moisture. Repair the underlying cause before finishing the ceiling.
Only if the drywall is completely dry, firm, and undamaged. Soft, swollen, stained, crumbling, or sagging gypsum should be cut out and replaced after the leak is fixed. Prime repaired areas with a stain-blocking primer before painting.
Wait until the leak is repaired and the drywall cavity, framing, and surrounding material are fully dry. Drying time varies with the amount of water, ventilation, humidity, and insulation. Do not cover damp material, since trapped moisture can lead to stains and future failure.
Small, dry, stable holes a few inches across are often suitable for a DIY drywall patch. Larger holes usually need solid backing, matching drywall, tape, and several coats of compound. Repairs near fixtures, seams, or textured finishes may be better handled by a drywall contractor.
Use replacement drywall that matches the existing ceiling thickness. Many ceilings use 1/2-inch drywall, while some use 5/8-inch board for greater stiffness or fire resistance. Measure the removed piece or check an exposed edge before buying materials.
A visible patch usually means the joint compound was not feathered wide enough, sanding left ridges, or the repaired area was not primed. Apply multiple thin coats, extend each coat farther than the last, sand lightly, and prime before applying ceiling paint.
Call a professional for water damage, sagging ceilings, repeated cracks, broad stains, electrical-adjacent damage, large holes, or difficult texture matching. A contractor can identify the cause, replace compromised drywall, secure the ceiling, and create a paint-ready finish.